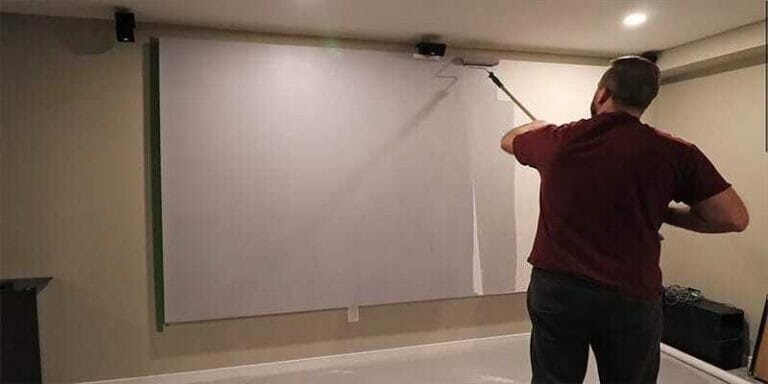
How to Mount a Projector Without Drilling
.Do you know how to mount a projector without drilling? Fortunately, you don’t need expensive equipment to install a projector.
Basically, it’s all about finding the right mount for your projector that can be securely attached to a wall or ceiling without drilling holes.
It also depends on the size of the projector and throw distance, among other considerations.
So what else do you need to keep in mind when mounting a projector without drilling holes? Read on to find out!
In this article, I’ll show you how to easily mount a projector on a flat surface with minimal damage to your walls.
How to Mount a Projector Without Drilling
Most of the time, when it comes to mounting a projector, we end up drilling a hole in the wall. This is not only a huge pain in the ass, but it’s also a big no-no for the safety of our projector. There are many other ways to mount a projector, but I want to show you the easiest and safest way.
- Use A Shelf To Mount A Projector
- Projector Screen Stands
- Using Suction Cup Mounts
- Use L-shaped Stands for Projector Mounting
1: Tripod mount
A tripod mount is a great way to attach your projector to a tripod. This allows for optimal display of presentations without the need for additional stands or hangers.
But although a tripod mount is definitely a useful accessory to use with your projector, you might struggle to find one that doesn’t require assembly.
The hassle of putting together a tripod mount makes the product quite expensive, but if you need projector lighting, it’s worth it.
2: Hanging strips
Hanging rails are mainly used for hanging paintings, photographs and mirrors. But it can be used to mount a projection screen without drilling. Moreover, they are very cheap.
To use a hanging strip, first, thoroughly clean the surface with rubbing alcohol. Avoid household cleaners and water as they leave a slippery residue.
After preparing the wall, you need to tear the strip apart and attach one half to the wall and the other half to the projection screen.
Lightly press for 30 seconds to adhere.
To properly attach the strips to the wall, press firmly on each strip for about 30 seconds and wait an hour for the adhesive to set.
Now you can easily connect your projector. Strong enough to support up to 15 lbs.
3: Screen stand
Projector stands are also a great option for outdoor use. It looks professional and does not require drilling. The stand is available in two colors, black and white, so you can choose the color you like.
4: Shelf mount
A shelf mount is a permanent solution for mounting your projector. Perfect for offices and homes as no drilling or screwing is required. It is very easy to install. Just screw it in and fix it with a screw.
5: Brick clamps
If you want to hang your projection screen on a brick wall, our brick clamps are your best choice.
Measure the depth of your mortar and buy the appropriate brick clips for this. These clips have serrated edges that hold the bricks.
Make sure the edges of the bricks are straight and have no chipped edges before assembling.
Please remember to read the installation process carefully and do your research on these clips as not all clips are a perfect fit for every brick wall.
6: Hardwall hangers
If you’re looking for an inexpensive and stable way to mount your projection screen without drilling holes, I recommend using a hard wall mount.
The claws are small and not very noticeable. Hangers are attached with nails. So just tap it on the wall and mount the projection screen. These hangers are strong enough to hold a 60-inch TV.
One thing to note is that the projector screen cannot be adjusted vertically after assembly. So please take proper measurements before assembling.
7: L-shaped wall hangers
If you don’t want to buy a projection screen stand, you can mount your screen on an L-shaped hanger.
Just glue the L-shaped hanger to the wall. Once it sits up straight, you can hang the projection screen on the hook.
However, if you don’t want to spend a fortune, you can use wood, PVC, or other sturdy materials to make this hanger.
It provides a stylish and organized look for your living room and is easy to maintain.
Also Read: How to connect XBOX to Projector?
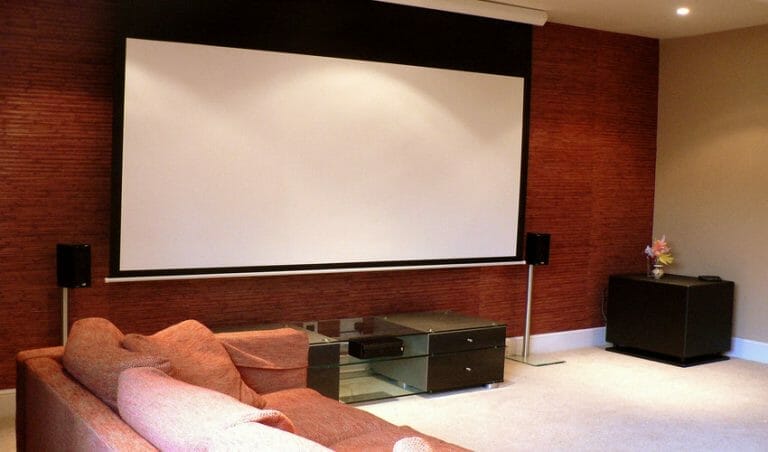
Where should I mount the projector screen?
There are two types of projectors: direct-view and indirect-view.
The difference between the two is that a direct-view projector projects an image onto a flat surface, such as a wall or object (such as a ceiling tile) that has no curvature, while an indirect-view projector can project images on a curved surface like a screen.
Remember that the main purpose of the projection screen is to show the images and videos clearly to an audience. So choose the type and placement of the projector screen wisely.
Screens usually need one wall in a room, but try placing them on a wall that doesn’t get direct sunlight.
After determining the best wall, the next step is to determine the height. I recommend keeping the bottom of the screen 24 to 36 inches off the ground.
If you have multiple rows of seats, you may need to raise them slightly so that people sitting behind the front row can see you better.
Also consider what’s under the screen, such as the center speaker or entertainment center.
How to mount a projector screen without drilling
The safest way to mount your projection screen is with a pre-assembled projector stand. These stands are specially made for mounting projection screens without drilling. Therefore, no other montage idea is as convincing as this one.
Ceiling mount pros and cons
Of course, every installation method has its pros and cons, you have to select the right method based on your personal preference. The benefits of using a ceiling mount are
- Seating options are much more extensible.
- Creates a very elegant and high-tech look.
- Access to a ceiling TV lift adds to the luxury.
- Allows for more space in the room.
Mounting a projector has many advantages, but it also has some disadvantages.
The main drawback is that it has to be mounted on the ceiling and needs enough space to function properly. Some other disadvantages include:
- Depending on the placement, it can pose a potential “headbump” hazard.
- Altitude can cause fatigue during long viewing sessions.
- It can obstruct views through windows
- May be constrained by design features such as cathedral ceilings.
How to hang a projector without drilling
Drywall anchors or wall anchors can support the weight of the projector. Affordable and easy to use, they also don’t leave any residue or cause damage when removed from the surface.
Creative ways to mount a projector
If you are still confused about how to mount your projector without drilling, here are 4 other creative ways to install your projecting device:
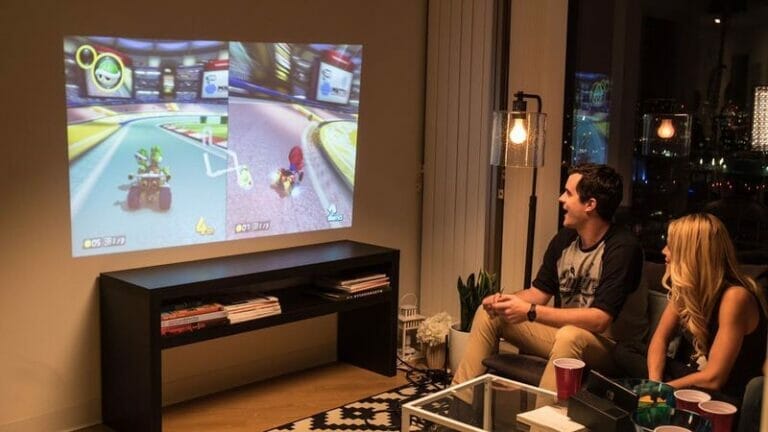
- Place it on a bookshelf
- Have the projector built into the wall
- Build a custom mount bracket for your projector
- Consider integrating it into a Soffit or Bulkhead
Before Mounting a Projector Screen, Consider the Following:
1. Location of the projector screen
Determining the best position for a projector is a little more difficult than for a screen.
In addition to the constraints imposed by the placement of outlets, lights, and bars, the projector throw distance, vertical offset, and lens shift must be considered.
Here are some professional tips to keep in mind in order to place the projector properly:
- Place the projector on a stable, level surface or use a compatible mount to mount it.
- Leave enough space around and under the projector for ventilation, and do not place it over or near anything that might block the ventilation openings.
- The projector should be placed parallel to the screen.
- The projector should be placed within reach of a grounded electrical outlet or extension cord.
2. Distance from the screen to the viewer
Distance from the screen to the viewer is important. There must be enough space between the projector screen and the viewer.
The projector screen should be close enough so that it can project images on the wall. If it’s too close, it can make the images look blurry.
The viewer needs to be close enough to the screen so that he or she can easily view the image projected on it. When the distance between the projector screen and the viewer is right, the image appears sharp and clear.
3. Size and shape of the screen
The size and shape of the screen will also be important to consider. If the size of the screen is too big, you will have a difficult time seeing everything clearly.
The screen should be big enough to show a picture in its entirety. The shape of the screen should be square or rectangular.
If the screen is round, you will see only the top half of the image projected on it. You will see a fuzzy picture if the screen is too small. You may also find that you have a hard time viewing an image projected on a small screen because of the limited resolution.
4. Type of projector
The type of projector has a large impact on the quality of the projection. A good projector will produce images that look crisp, clear, and bright. This will make watching TV and movies much more enjoyable. If you are looking for a better projection system, you should consider buying a high-quality projector.
The one you choose should be durable and easy to use. When shopping for a projector, you will also need to think about what type of display you will be using it for.
You will need to decide if you want a home theatre system with two projectors, two screens, or one large screen.
Home theatre systems are usually set up for two-way communication. They are great for watching DVDs, playing video games, and watching movies.
Conclusion
Drilling is a complicated business. And hiring a professional is an expensive option.
If you have come this far, I hope this article has given you plenty of other options.
Although there are many ways to install a projection without drilling holes, these options are the simplest.
So, are you a crafty person? Or do you want something quick and easy? Anyway, this article has some neat ideas that are perfect for mounting your projector without ruining your walls with drilling.
FAQs
Can You Mount a Projector into Drywall?
Oftentimes, projectors can be mounted into drywall using a mounting bracket and screws. However, there are a few factors to consider before mounting a projector into drywall, such as the thickness of the drywall and the type of projector.
Can I Put a Projector on a Shelf?
Yes, and it’s an excellent way to increase the projection size of your screen. There are several methods for doing this, but you’ll need some sort of stand or base to hold it up. This is usually done with a tripod.
What Can I Use for My Projector Screen?
A projector screen can be made from a variety of materials, including cloth, paper, plastic, and metal. Cloth is the most common material used for projector screens, as it is affordable and easy to work with. Paper is also a common material used for projector screens, as it is lightweight and easy to move.
How Much Weight Can a Ceiling Screw Hold?
The weight capacity of a ceiling screw is determined by the amount of torque that can be applied to the head of the screw. The maximum torque rating for most screws is 25 inches pounds. The torque rating will vary depending on the type of material the head is made from. For example, if a screw head is made from steel, then the torque rating will be lower than if it is made from brass or aluminium.
Where Is the Best Place to Put a Projector?
There are many different places you can put your projector, including a ceiling, wall, or even on a shelf. You may want to consider the size of your room and the placement of your projector so that you can find the best place to put it.
The best place to put a projector is typically in a room with a wall or ceiling that is at least 30 inches high.
How do you mount a projector without studs?
If you don’t have access to the space above, I recommend installing plywood under the drywall. Make it large enough to span two joists. Finish the edges to suit your style and turn it into an inverted ‘pedestal’ to hang your projector.